World Map Wall Art Tutorial
Jan 21, 2016
AFFORDABLE DO IT YOURSELF PROJECTS | DIY WORLD MAP WALL ART | CHALK/MINERAL PAINT DIY HOME PROJECTS | EASY HOME DECOR
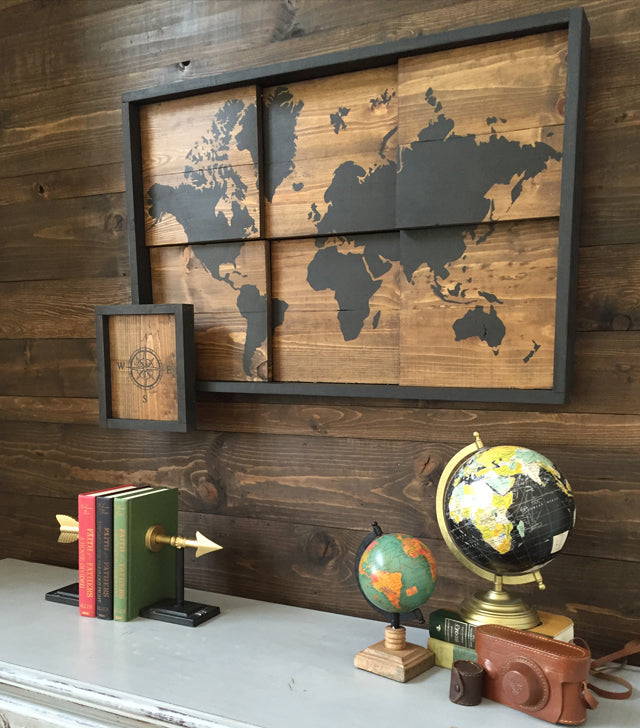
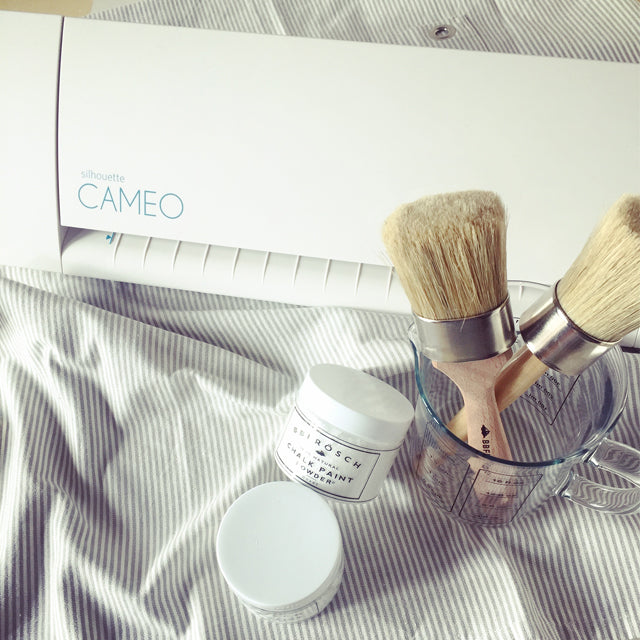
I put BB Frösch Paint Transformer and my Silhouette Cameo to work for this super cool faux-stained world map:

I daresay that after this project, I love my Cameo as much as I love my BB Frösch!
(Note: This post is not sponsored by Silhouette, I just love their Cameo!)
So, if my world map is 100% paint and not vinyl, how did I use vinyl? As a stencil, of course!
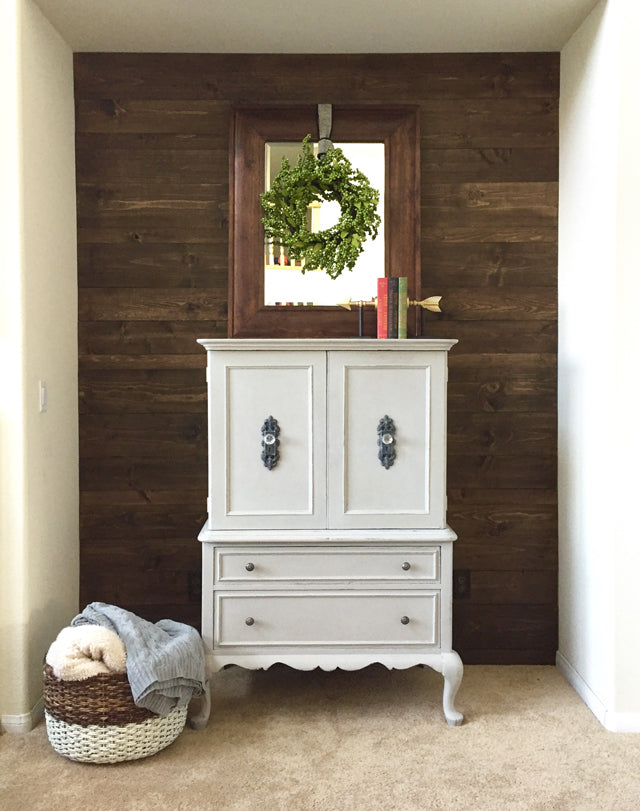
When we built this faux-stained wall in our home, I had a bunch of leftover pieces that were perfect for this project. You can find details for creating a faux-stained wall here.
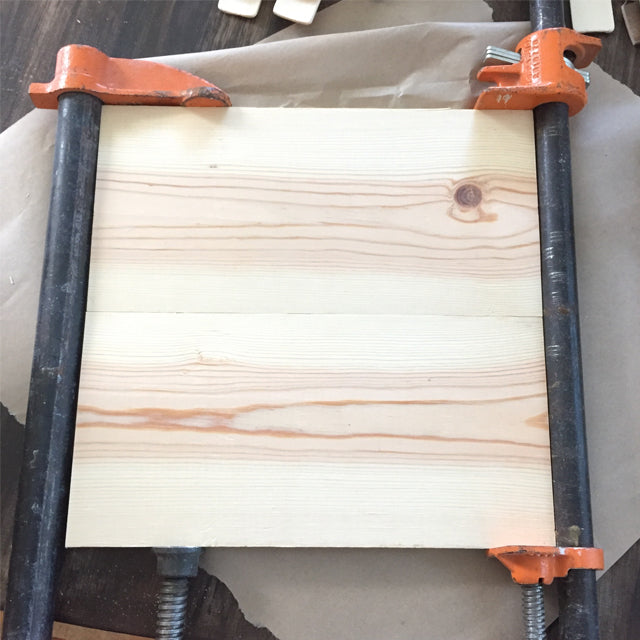
I had Jason cut the leftover pieces down to 11” each so that when I glued two of them together, they made an exact square (the actual width of a 6” boards is closer to 5 1/2,” thus the 11” square.) I made six 11” squares, like this:
I faux-stained all six of my squares using Benjamin Moore “Mink” paint mixed with BB Frösch Paint Transformer, but I DID NOT WAX THEM YET. I used the same method I shared for my faux stain wall.
Trust me, using paint mixed with BB Frösch to “faux stain,” beats messy, smelly and unpredictable traditional stain methods hands down!
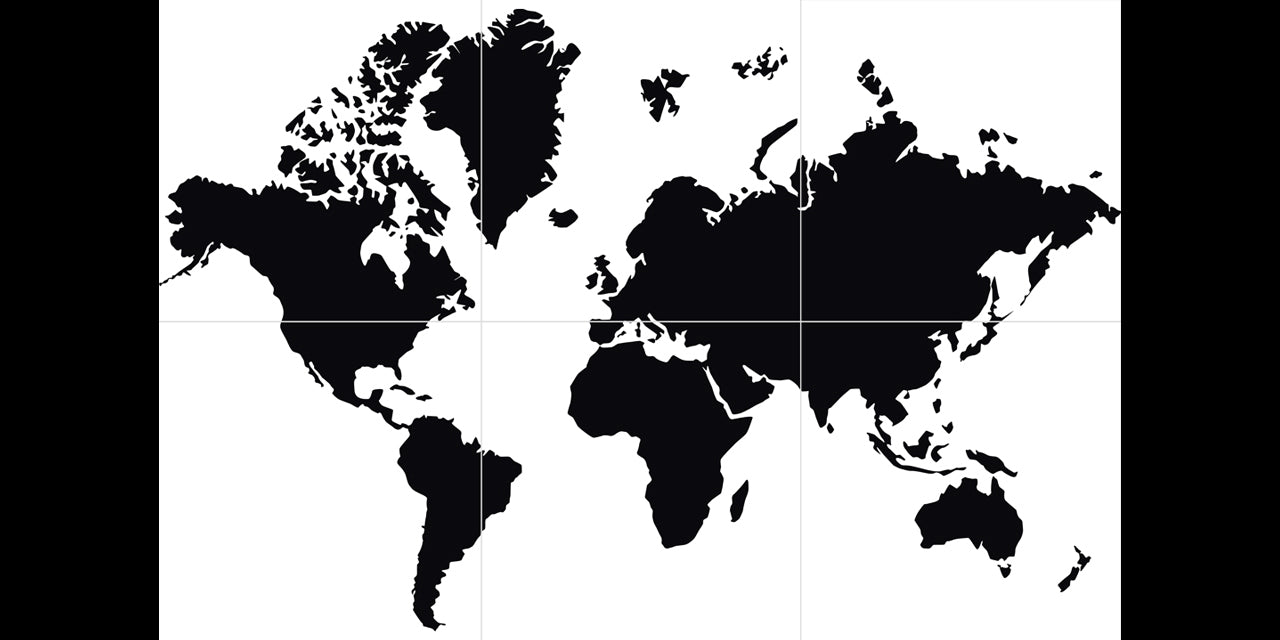
While my boards dried, I found this generic map on Google, and used Photoshop to divide it into six equal sections:
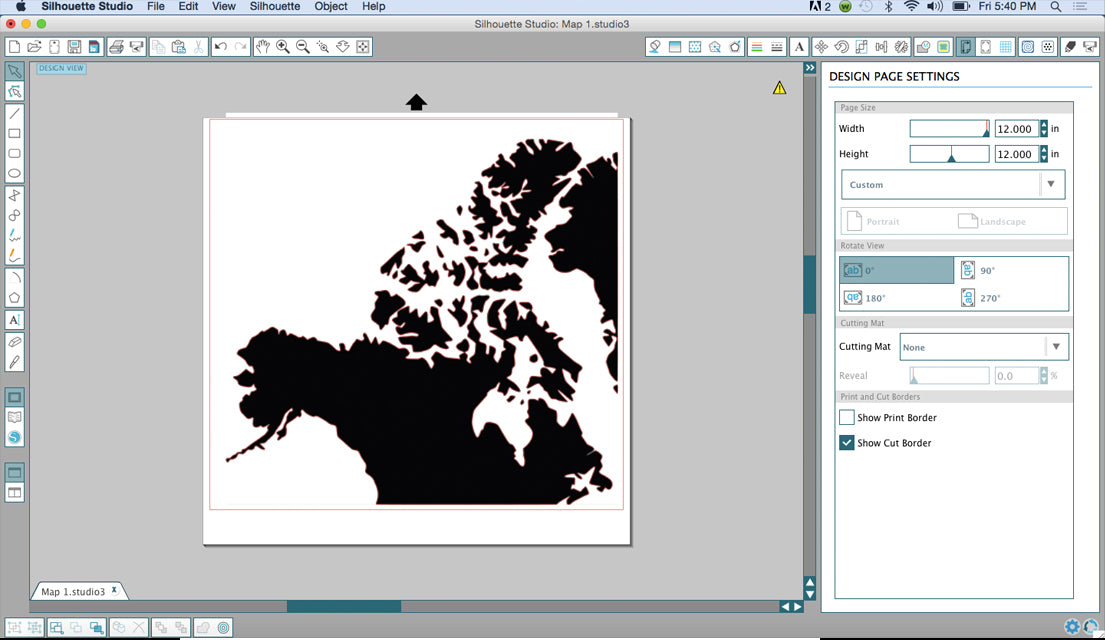
Then, I made a cut file for each section in Silhouette, like this:
Before applying the vinyl to each of my six wood squares, I faux stained them (see above). DO NOT WAX YET.
Note: Several people commented that the weeding for the vinyl must have taken forever. It didn't! Most of the vinyl to be weeded came up in one piece.
Using the OUTLINE of the map as a stencil, I applied each of vinyl section to the six different boards, like this:
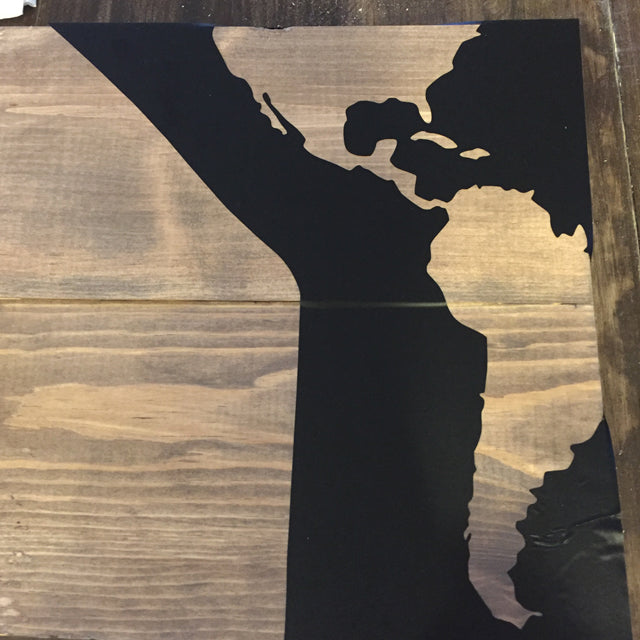
To paint the land areas of the map, I used black paint mixed with BB Frösch Paint Transformer. When using a vinyl stencil, it is REALLY important to follow these steps:
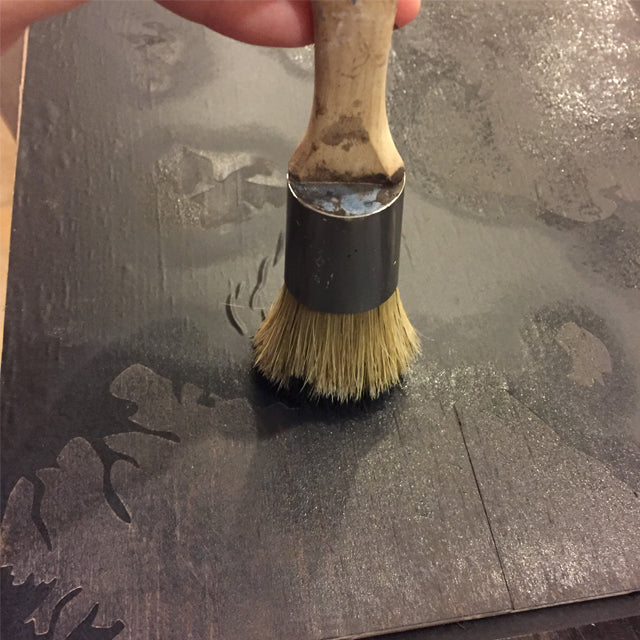
- Dip your brush into mixed chalk/mineral paint (I made my own chalk/mineral paint by mixing BB Frösch Paint Transformer into regular lates paint from Home Depot)
- Blot most of the paint off onto a paper towel or on an area to be painted that is away from the stencil edge
- With your brush fairly dry, dab onto surface. Dabbing a drier brush instead of using brush strokes helps keep paint from bleeding under the edges of your stencil
You can remove the vinyl stencil immediately, just make sure the paint is fully dry before waxing. I waxed over the entire board (the previously faux-stained part as well as the newly painted map part) with BB Frösch Dark Premium Finishing Wax.
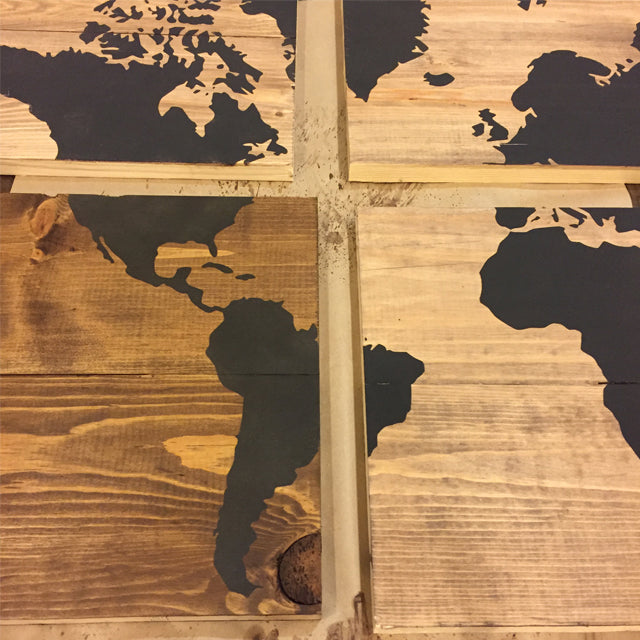
You can see how the dark wax makes a gorgeous finish in the photo below, where only the bottom left piece has been waxed so far:
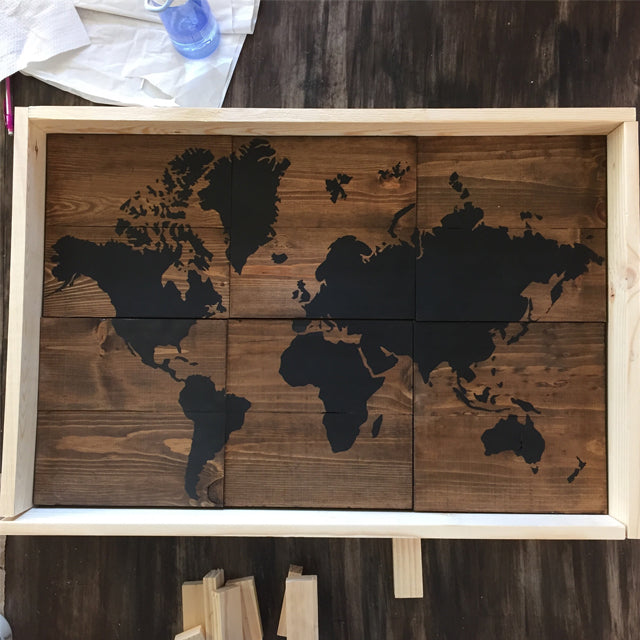
Once all six sections were painted and waxed, I laid them out and cut the frame to fit around the map. For the frame, I used 1x3” pine boards, painted them black, then waxed them with BB Frösch Dark Premium Finishing Wax.
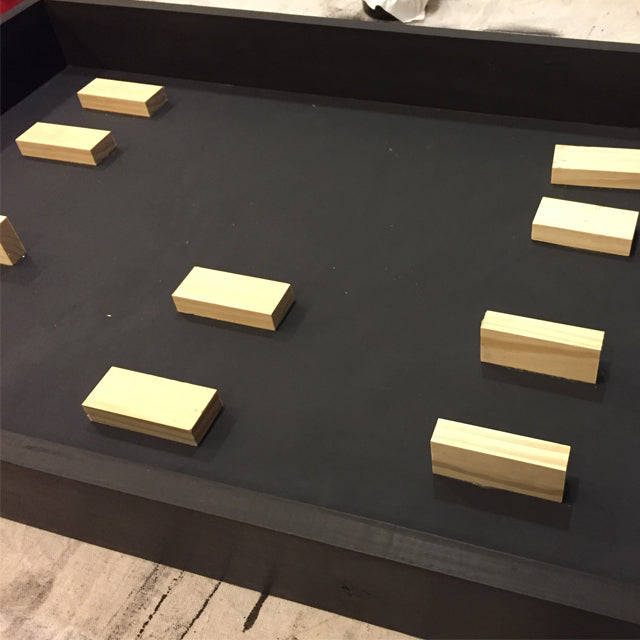
I wanted a little dimension, so instead of just mounting the map to wood backing, I glued “risers” made from pieces of 1x2" to a piece of 1/4" backing. You can see here where one section isn’t raised at all, three sections are raised by 1” (the risers laying flat), and two sections are raised by 2” (the risers laying on their sides.)
With the painted frame in place, and the “risers” glued securely in place, I glued each section of my map onto the risers. Jason used a nail gun to secure the frame to the six map boards.
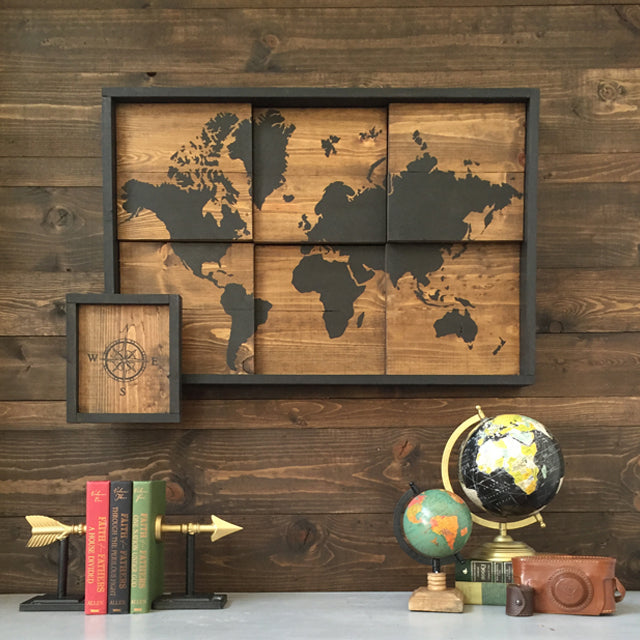
At the last minute I decided to add a compass on the lower left.
You can see a little better from this angle how the sections of the map are slightly raised at varying depths: