How to Use Natural Beeswax Finishing Wax • Product Review
Jan 05, 2022
HOW TO USE NATURAL FINISHING WAX | AFFORDABLE DRESSER MAKEOVER | DIY PAINTED DRESSER | SEAL & PROTECT FURNITURE WITH WAX

We have been on the hunt high and low for the absolute BEST all-natural beeswax to seal and protect our furniture makeovers. While we LOVE BB Frösch Premium Finishing Wax, we also love options 😉
Along the way, we learned that bees are pretty important, and it MATTERS how the beeswax is harvested in order to save these beautiful creatures from extinction. It became especially important for us to find someone that practices sustainable and natural beekeeping.
That’s when we met Garret and Scott from Wild Honeybee Farms at a little Farmer’s Market in Florida.

These guys are the real deal, and they were up to the task of working with us to create exactly what we’d been hunting for in an all-natural beeswax.

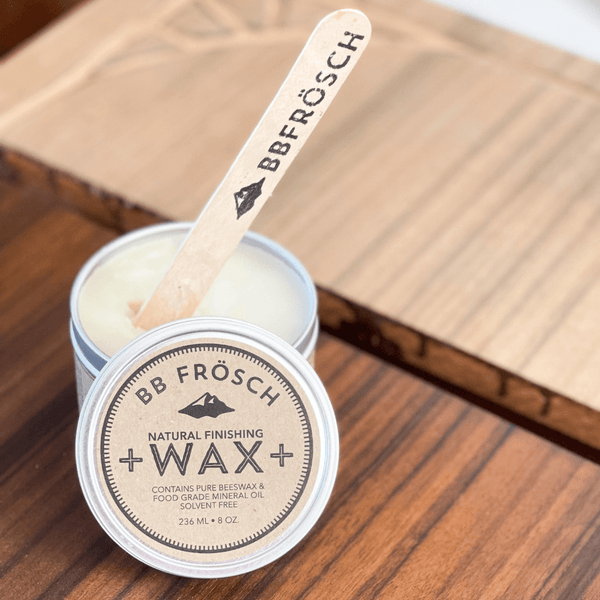
After a lot of testing and fun projects, we are so excited to offer this incredible new BB Frösch Natural Finishing Wax that is made with pure beeswax and food-grade mineral oil. No solvent, no smell, just beautiful protection that just so happens to nourish raw wood as it protects.
We decided this stunner was the perfect candidate for the natural wax:

As tends to be the case when purchased old furniture, when we arrived to pick up the dresser, it had a lot more damage than we realized!


NOTE: If you're a fan of video tutorials, check out the video of this makeover at the end of this post!
We knew we wanted to highlight the beautiful wood grain, so a little sanding was in order to remove the damaged finish.
What we didn’t expect, was completely different shades of wood to be revealed!

As much as we loved the darker veneer of the drawer fronts, with the stunning grain, we weren’t convinced our plan of just waxing the dresser top and drawer fronts and only painting the dresser frame would look amazing. Disclaimer: Kacey had no doubts, I was the skeptic.
We decided to go with our original plan because we knew we could adjust if it didn’t turn out the way we hoped.

See that stain running down the inside back of the dresser? Yeah, we discovered it when we removed the drawers to sand. It was SLIME! I cannot express how nasty it was to clean. If we weren't for a ban on slime before, we are now.
We chose a beautiful, soft grey (Behr Gravelstone) for the dresser frame:

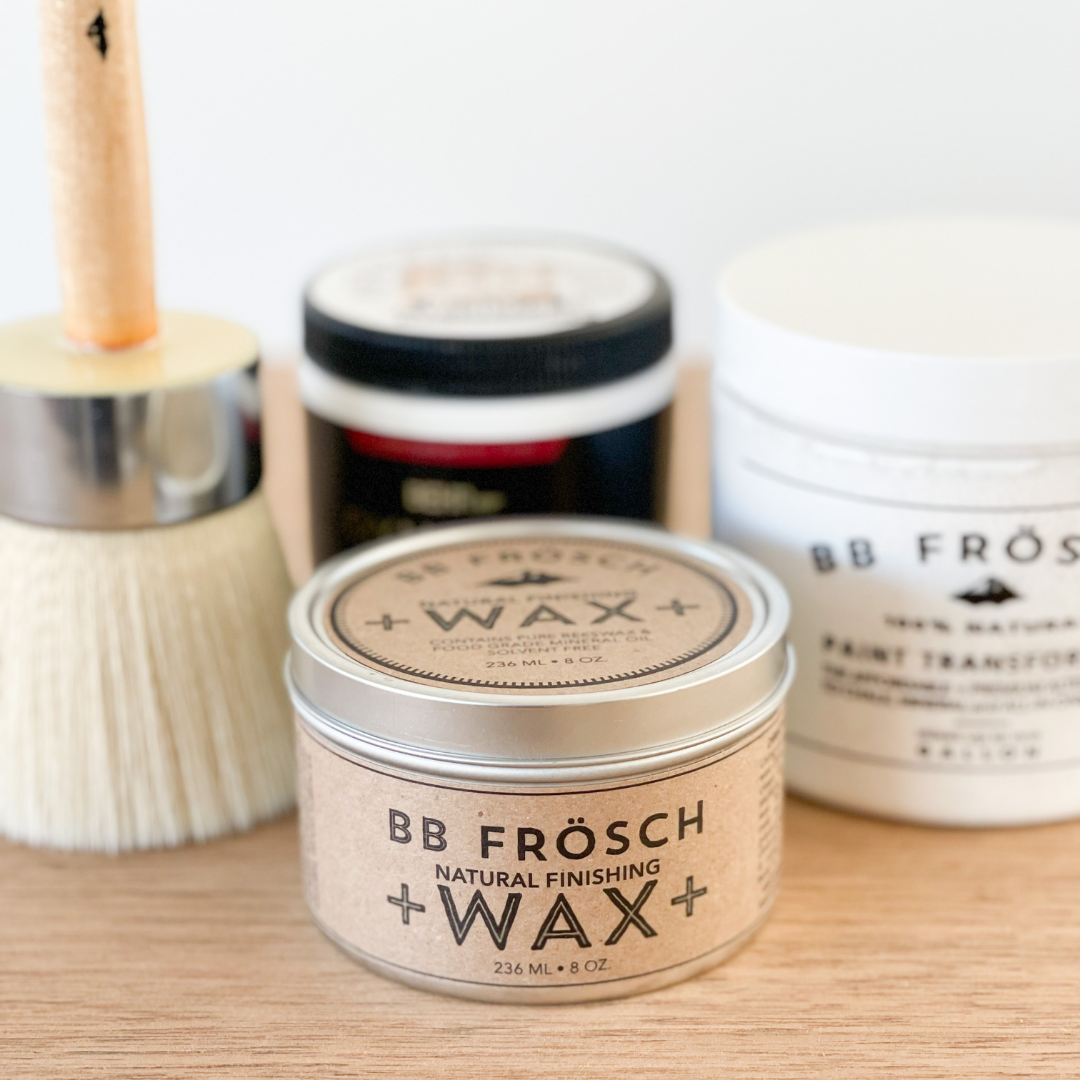
Here’s what we used for this project:
- Large Synthetic Wax Brush
- BB Frösch Paint Transformer
- BB Frösch Natural Finishing Wax
- Sample jar of Behr "Gravelstone"
- Lint-free wax cloth

We didn’t sand the parts of the dresser we planned to paint (why do more work than you have to?!?) We mixed our paint with BB Frösch Paint Transformer so it would stick to the dresser without having to sand or prime. You can find easy mixing instructions here.
It was Christmas break, and the kids were home, so Axel helped paint. He was so proud of his first-coat coverage!


While Kacey and Axel painted, I waxed the drawer fronts.

How to Apply Natural Finishing Wax:
- “Butter” the end of your wax brush (dipping your brush into the wax tin can contaminate the wax as well as get way more wax on your brush than you need.)
- If waxing raw wood, apply wax in broad, even strokes with the grain
- If waxing painted or embellished areas, wax in circular motions
- Once brush has no more wax on it, remove excess wax from surface with a lint-free wax cloth. You'll know excess wax has been removed when your cloth glides smoothly, the wax does not feel tacky to the touch, and the surface begins to shine
- Continue this process of “wax on, wax off” until entire piece is waxed.
Note: This amazing wax can be softened by placing a small amount of a microwave-safe dish and melting in microwave 5 seconds at a time until desired consistency is achieved. Do NOT place the wax tin in the microwave!
We discovered that BB Frösch Natural Finishing Wax brought out the true natural beauty of what the wood was meant to be—without coloring or staining it in any way, and it was more beautiful than we could have imagined. The wax is clear, but check out the difference between the waxed and unwaxed drawers:


Once the dresser frame was painted (it took just two coats and less than half the jar of paint!), Kacey distressed the embellished parts gently with 220 grit sandpaper. Then, we used the same amazing wax to seal and protect the painted parts.

Once everything was waxed and put back together, we did the “water test” where we poured water on the waxed surface to see how the wax held up:

Look how beautifully the water beaded up as we wiped it away!

Note: Though natural beeswax will dry fairly quickly, it won’t be fully cured right away.
The top of the dresser started out very light, but the wax really made it beautifully rich! It turned out to be a lovely contrast with the darker drawers and the gray paint. Believe it or not, we completed this project in under two hours!

We've used the Natural Finishing Wax on a few other projects lately, and we are in love! My trusty Pier One Imports kitchen table had a ton of damage, but the size and quality were still perfect...

We sanded the top to remove the damage and reveal the wood grain. We didn't need to sand the legs because we painted them. We added BB Frösch Paint Transformer to navy paint to make the paint stick to the legs without sanding. We waxed right over the raw wood top as well as the painted legs with two coats of BB Frösch Natural Finishing Wax, and voilà!
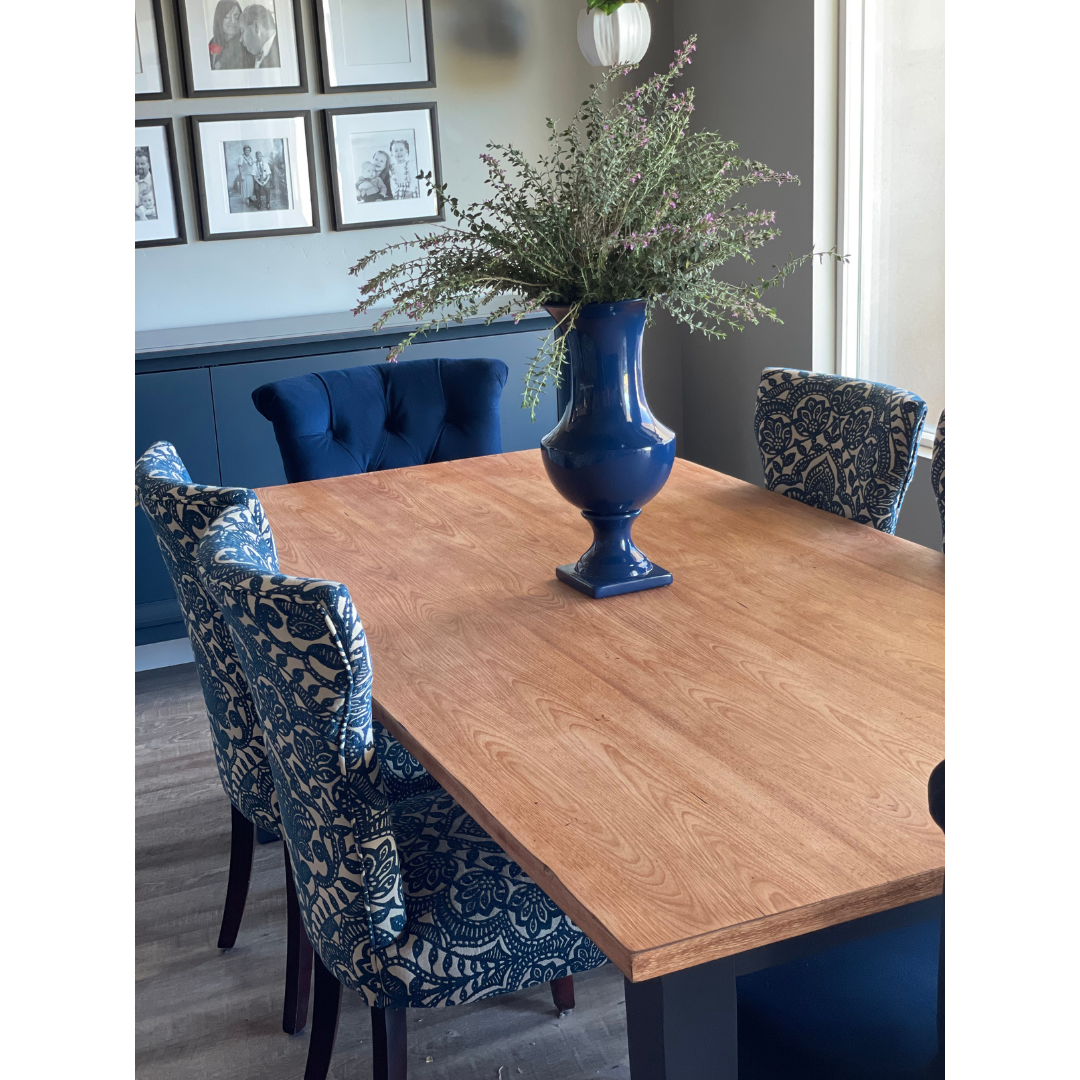

It's been six months since the table makeover, and the wax has held up beautifully. However, our table doesn't get a ton of use anymore now that the kids are grown, so consider how much traffic your piece will get when deciding how to seal your piece.
I also tried out the Natural Finishing Wax on a dresser I had refinished about five years ago. Originally, the top was dark waxed with BB Frösch Premium Finishing Wax. The dresser still looked great, but the top was ready to be freshened up. I did not sand first, I just waxed right over the previously waxed surface. Here you can see the difference between the five year-old waxed surface and the newly waxed area:

We love the original BB Frosch Premium Finishing Wax for it’s unmatched dry/cure time and ease of application, but at the end of the day, we love BOTH waxes for different reasons, and we’ll definitely keep both in our DIY arsenal!
I prepared this chart as a quick reference for the differences between BB Frösch Natural Finishing Wax and BB Frösch Premium Finishing Wax.
