
Amazing DIY Large Barn Door
Jan 06, 2021
This has to be one of my favorite builds to date! My husband and I worked our butts off on our home office. We have a small closet with a large opening that needed something. A traditional door just wasn't ideal for our small space so we opted for a barn door which slides right along the wall and doesn't take up much space at all!
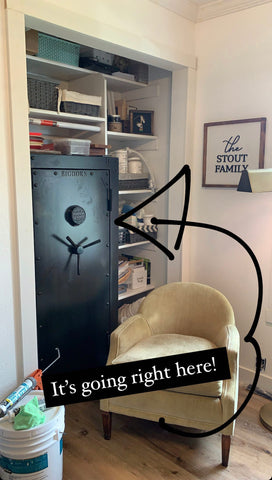
Our opening is much larger than a standard door opening so that is why we are calling this a LARGE barn door.
Here are the supplies need for this easy door:
- BB Frösch Premium Finishing Dark Wax
- Large Wax Brush
- Lint Free Wax Cloth
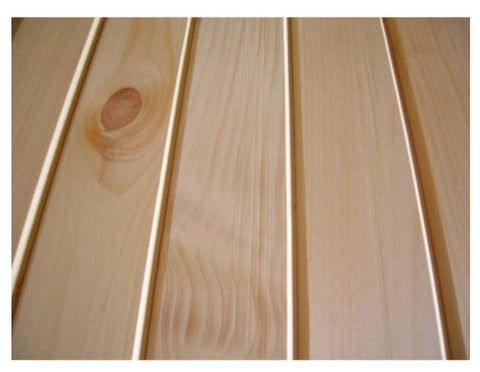
- Pattern Stock Gorman Tongue and Groove Board
- Wood Glue
- Brad Nailer
- Clamps
- Sliding Barn Door Hardware Kit
- Barn Door Floor Guide
- Table Saw
- 4 pieces of 1x4 for the door boarder
- 1 pieces of 1x6 for the center piece
Let's get building:
We bought 11 tongue and groove pieces. They were 8 feet long and we cut them down to 7 feet to fit our door. You can customize your amount to your own door opening. We cut the two end pieces down the middle to four inches to create a clean look.
The tongue and groove is really awesome because it just clicks in together with no nailing needed.


Here's what it should look like when it's all pieced together:
Here are all the tongue and grove pieces put together just waiting for the boarder.

On the long sides of the door we glued 1x4 from the top to the bottom and the short ends went inside the other two edges. We cut the 1x4 down to 7ft to match the tongue and groove.


We nailed it in as well for added protection. I didn't bother filling in these holes because the dark wax will kind of hide them and I am fine with seeing them for a more rustic look.

Everything came together so nicely. I am super happy with how this was looking and was eager to get waxing!

Waxing with BB Frösch Dark Premium Finishing Wax on raw wood is really fun and super easy because the wood comes to life so beautifully.
I apply was with a specialty wax brush because it uses less wax, and it helps wax get into the grooves better than a cloth would. Spread a thin layer of wax on the end of your wax brush then apply wax in broad, even strokes moving with the wood grain. After waxing a small section on, remove any excess wax with a lint free wax cloth. You will know when the excess wax is removed when the surface begins to shine, when the wax no longer feels tacky, and your cloth glides smoothly. This should take only a couple of passes with the wax cloth. At this point, your wax will be dried and cured--no waiting for days or weeks like you would with most other wax brands. Repeat this until the entire piece is done.

Take a look at the difference between the dark wax and the raw wood:

Finally the door was complete and ready to be hung...
We put a 1x4 across the wall where we wanted the door to hang and slide on.

I snapped this picture before we put the handle on because I couldn't help myself. I absolutely love how the dark wax highlights the knots and grain. This was true love!

Check it out! We got the handle on, and my pup Maisy loves her new spot.
