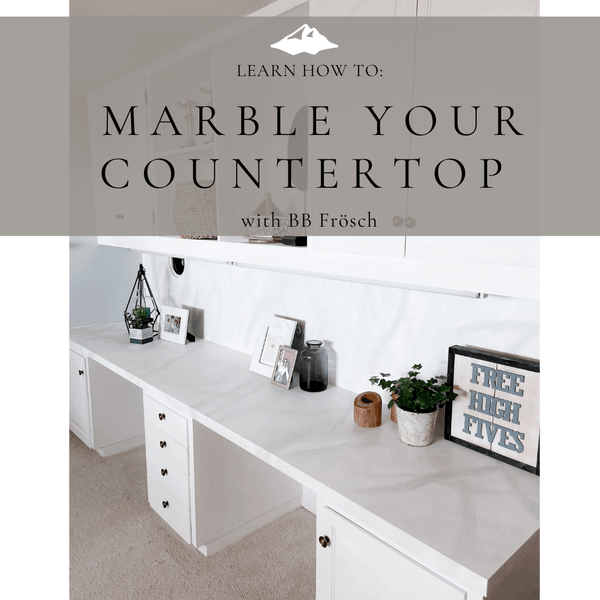
How to Paint Faux Marble Countertops for under $20
Nov 11, 2020
DIY PAINTED MARBLE COUNTERTOP | REAL LOOKING FAUX MARBLE COUNTERTOP | HOW TO MARBLE WITH BB FRÖSCH
When my sister called and asked for help in updating her dated bedroom I couldn't resist. I packed my bags and was on my way!
I had been itching to try a new technique (marbling) and she had the perfect countertop to try it on!

The cabinets were a dated dingy white 😖, and we were after a brighter lighter look...so we decided to paint the cabinets as well. Of course, we used BB Frösch for the cabinets as well so we could avoid having to sand and prime. You can learn more about painting cabinets here.
Here's what everything looked like before...

Supplies used for this project:
- BB Frösch Paint Transformer
- Sample-sized jars of paint in two different grays and one light pink for the marbling technique.
- Water-based Polyuerathane
- Paint Roller
- Sponge
- Paint Trays
&
- A FEATHER (this is key)
We started by taping everything off and painting the countertop white. We knew we wanted a light base so white was a good option. I like Decorator White by Behr. In order for the paint to bond to the countertop I added BB Frösch Paint Transformer. You can find mixing directions here.
The only prep work we did to the counter was CLEAN IT! We cleaned with a regular household cleaner. *This is a desktop--if it were a dirtier or higher traffic area I might have used a degreaser*
The paint adhered so nicely to the shiny counter because we added BB Frösch Paint Transformer.
Once the white was completely dry (about 30 minutes) we began the marbling.
We used a light gray, dark gray, and light pink.
First, I took one of the grays, my feather, and started dragging the painted feather across the countertop.

You can drag the "line" in whatever direction you want! The more imperfect, the better!

After using the feather and while the paint is still wet, I took my sponge and began "dabbing" the paint to blend it in.

Repeat this step multiple times and in all the colors until you get the desired look you're after. I switched back and forth between the different shads of gray multiple times until I got the results I wanted.

Here is an up-close look at what your countertop should look like. There is no wrong way to do this technique. I went over some areas a few times until I got the perfect look!

After we had the final look we wanted, we used this water based poly to seal. I actually used the spray can version but it was awful. I recommend using this one and either brushing it or rolling it on.

In my opinion sealing was the hardest part because you have to wait for it to dry (about 12 hours between coats, and it took 3 coats).
We love how this countertop turned out! With the freshly painted white cabinets, it looks like a whole new room!


